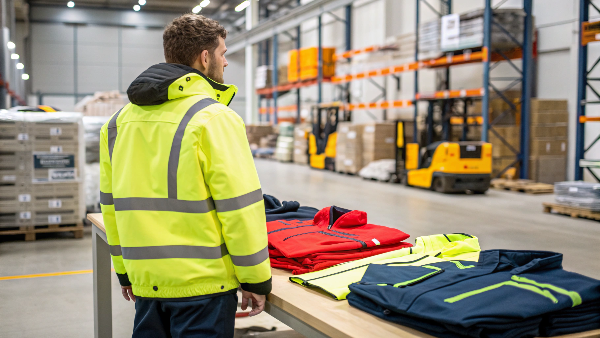
Are you sure your team has the right protection? Choosing the wrong high-visibility apparel is a risk you can’t afford. A simple risk assessment can ensure everyone’s safety.
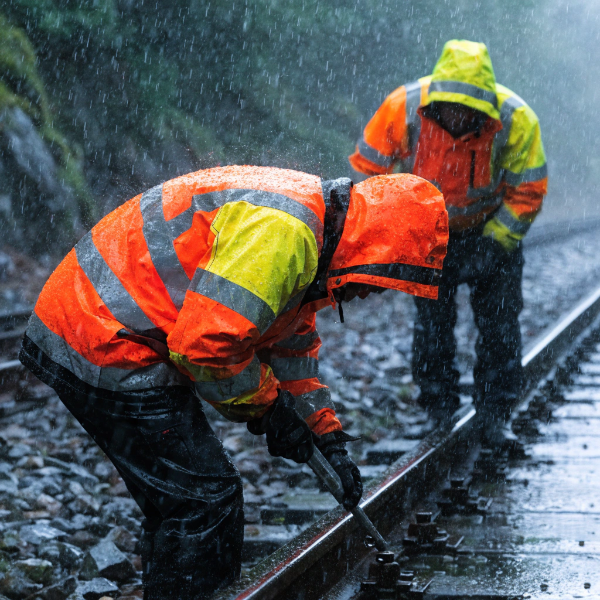
The best way to perform a risk assessment for hi-vis apparel is to identify hazards, assess who is at risk, and decide on precautions. This means analyzing your work environment, including light, weather, and traffic, to select the correct class and type of protective clothing.

Choosing the right safety wear1 is a critical decision. A mistake can lead to serious accidents. But it doesn’t have to be a complicated process. I’m here to walk you through the steps we take with our partners, like my friend Danny Cheng in California, to make sure his crews are always safe and seen. This process will help you understand the risks at your site and select apparel that meets specific safety standards2. Let’s make sure your team has the protection it truly needs.
What must be done with high-visibility clothing to maintain safety?
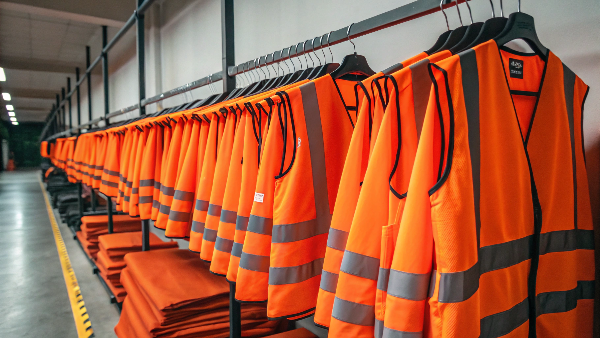
Your hi-vis vests get dirty and worn out. When they do, their effectiveness drops, putting workers in danger. Simple, regular care is the solution to keep them working properly.
To maintain safety, you must clean garments3 according to the label, inspect them regularly for damage like tears or faded tape, and replace them when they are no longer effective. Proper storage away from direct sunlight also extends the garment’s life and protective qualities.
As a manufacturer, I know that a garment’s life doesn’t end when it leaves our factory. Its real job starts on your worksite. The durability4 we build into our products only works if they are maintained correctly. Think of a hi-vis vest like any other tool; it needs care to function. Dirt, grease, and fading can reduce a garment’s fluorescent properties, making it less visible during the day. Similarly, worn-out reflective tape5 will not perform in low-light conditions. That is why we recommend setting up a simple maintenance schedule6. After 12 years of working with our company, my client Danny knows that teaching his teams to care for their gear is just as important as buying quality products in the first place. He trusts that our materials can withstand the tough cleaning and daily wear his crews put them through, because we test them rigorously in our own lab.
| Maintenance Action | Frequency | Why It’s Important |
|---|---|---|
| Inspect for Cleanliness | Daily, Pre-Use | Dirt and stains block fluorescent colors, reducing visibility. |
| Check for Damage | Daily, Pre-Use | Rips, tears, or broken zippers compromise fit and safety. |
| Wash Garment | As needed | Follow label instructions to avoid damaging reflective tape. |
| Inspect Reflective Tape | Weekly | Look for cracks, peeling, or fading that reduce reflectivity. |
| Replace Garment | When damaged/faded | A worn-out garment is a safety hazard and must be retired. |
What are the OSHA requirements7 for eyewear?
Working on-site exposes you to many hazards. A flying piece of debris can cause a permanent eye injury in an instant. Understanding basic OSHA requirements is the first step to preventing this.
OSHA requires employers to ensure workers use appropriate eye or face protection when exposed to hazards8 like flying particles, molten metal, chemicals, or harmful light radiation. This protection must comply with standards like ANSI/ISEA Z87.1 for impact resistance and coverage.
A complete risk assessment9 looks at the whole picture. While my expertise is in high-visibility apparel10, I always advise our partners to consider total body protection. Your eyes are irreplaceable. The hazards that require hi-vis clothing, like construction sites or roadways, are often the same places where eye hazards exist. Debris from cutting, dust from grinding, or chemical splashes can all happen without warning. This is why a risk assessment isn’t just about being seen; it’s about being safe from everything. We help our clients think through all potential risks. A designer like Jacky, who works with plastic components, understands this principle well. He doesn’t just design for aesthetics; he assesses the risks in the manufacturing process. The same logic applies to personal safety11 on a job site. You must identify every hazard to select the right protection.
| Hazard Type | Example Work Activity | Required Eye Protection (per ANSI Z87.1) |
|---|---|---|
| Impact / Flying Particles | Grinding, chipping, drilling | Safety glasses with side shields or goggles |
| Chemical Splash | Handling liquids, cleaning | Goggles or a face shield over glasses |
| Dust | Woodworking, drywall work, mixing concrete | Sealed goggles |
| Optical Radiation | Welding, torch cutting, lasers | Filtered lenses specific to the radiation type |
What is the ISO standard for high-visibility clothing?
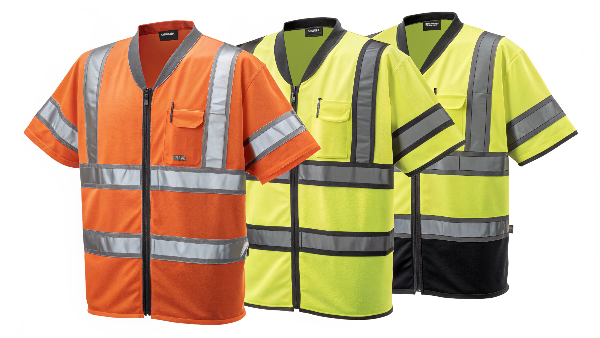
You see countless hi-vis options online. Choosing a garment that isn’t certified for your work environment is a serious compliance and safety risk. The solution is simple: look for the ISO 2047112 standard.
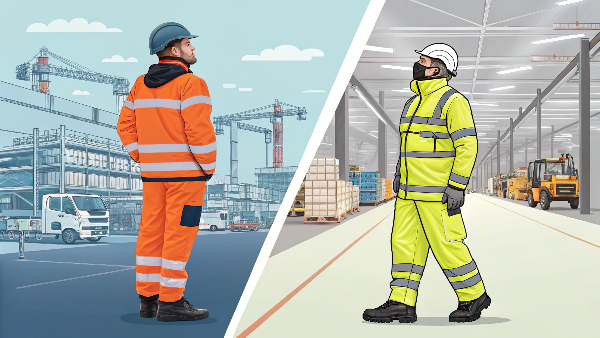
The main international standard is ISO 20471. It details the requirements for clothing designed to visually signal a user’s presence. The standard classifies garments into three classes based on the risk level, dictating the minimum area of fluorescent material and retro-reflective tape.
When Danny first started importing PPE over two decades ago, standards were less harmonized. Now, ISO 2047112 provides a clear, global benchmark for safety. This standard isn’t just a suggestion; it’s a scientific approach to visibility. It divides hi-vis clothing into three classes based on the risk associated with an environment. The class determines the amount of "conspicuity" a garment provides. This is a combination of fluorescent background material for daytime visibility and retro-reflective tape for nighttime visibility. As a manufacturer, our job is to produce garments that meet these precise specifications. All our Vissafety products are certified to ISO 20471, and we test the materials in our own advanced laboratory to guarantee compliance. This ensures our clients receive products that don’t just look bright—they perform to the highest international safety standards.
| Class | Risk Level | Example Environment | Minimum Fluorescent Material | Minimum Reflective Material |
|---|---|---|---|---|
| Class 1 | Low | Off-road work, parking lot attendant with slow traffic | 0.14 m² | 0.10 m² |
| Class 2 | Medium | Road workers on/near roads with speeds up to 50 mph (80 km/h) | 0.50 m² | 0.13 m² |
| Class 3 | High | Road workers on highways, emergency services, night work | 0.80 m² | 0.20 m² |
What checks are required for the HI-VIZ?
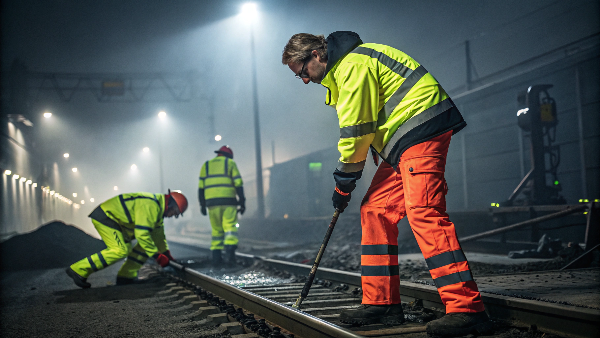
You have the correct safety gear13 for your team. But is it still safe enough to use today? A quick daily check is essential to prevent a functional garment from failing you.
Before every single use, workers must check their hi-vis apparel for cleanliness, damage, and excessive wear. Look for dirt, stains, rips, and broken fasteners. Most importantly, inspect the reflective tape for any fading, cracking, or peeling that would reduce its protective visibility.
I once heard about a close call on a road crew. A vehicle almost struck a worker at dusk because the reflective stripes on his vest were so cracked and faded they didn’t reflect the headlights. His vest was the right class, but it was long past its useful life. This is why daily checks14 are not optional. It takes less than a minute. Before putting on a vest or jacket, a worker should hold it up and ask: Is it clean? Is it torn? Is the reflective tape intact? We stand behind the quality of our garments, but no material lasts forever, especially in tough work conditions. Our triple-inspection quality process at Vissafety ensures every item is perfect when it leaves our factory. We use robust materials to make sure they last. But the final safety check, the one that matters most, happens right before that worker steps into a hazardous area.
Daily Hi-Vis Inspection Checklist:
- Cleanliness: Is the fluorescent material bright and free of dirt or stains?
- Physical Damage: Are there any rips, tears, or holes? Check the seams and edges.
- Fasteners: Do zippers, buttons, or Velcro closures work correctly? A loose garment can be a snagging hazard.
- Reflective Tape: Is the tape bright, without cracks, peeling, or missing sections? Shine a light on it in a dark room to test its reflectivity if you are unsure.
- Overall Condition: Does the garment look excessively worn or faded? If so, it’s time for a replacement.
What is the ISO standard for risk management?
The idea of a formal risk assessment can seem overwhelming. You may wonder where to even begin. The best approach is to follow a proven framework like ISO 31000.
The international standard for risk management is ISO 31000. It provides universal principles and guidelines for managing risk in any organization or industry. It isn’t a certification standard, but a framework to help you identify, analyze, evaluate, and treat risks systematically.
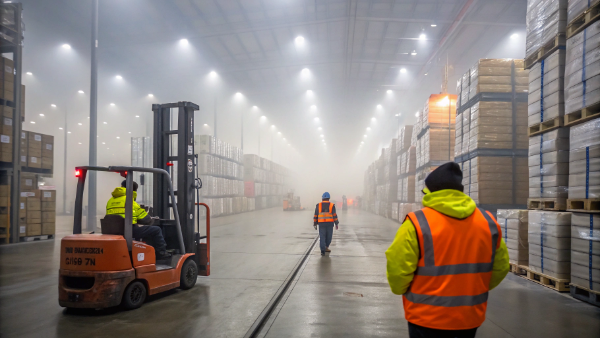
At its core, risk management is just a structured way of thinking about what could go wrong. ISO 31000 gives us a clear process for this. It’s the same logic we use when helping a client perform a risk assessment for their hi-vis apparel needs. We start by understanding the context—the specific work environment. Then we identify the hazards: moving vehicles, poor lighting, bad weather. Next, we analyze and evaluate the risk level, which helps us determine the right treatment—in this case, selecting the appropriate class of ISO 20471 apparel. This isn’t just a one-time task. The standard emphasizes that risk management is an iterative process. As conditions change, the assessment should be reviewed and updated. It’s this structured, reliable approach that builds trust and ensures long-term safety for everyone.
| ISO 31000 Process Step | Application to Hi-Vis Apparel |
|---|---|
| 1. Scope, Context, Criteria | Define the work area (e.g., highway, warehouse) and worker tasks. |
| 2. Risk Identification | List all visibility hazards15 (e.g., vehicle speed, fog, nighttime). |
| 3. Risk Analysis | Determine the likelihood and consequence of a visibility-related accident. |
| 4. Risk Evaluation | Compare the risk level against safety criteria to decide if action is needed. |
| 5. Risk Treatment | Select the correct hi-vis clothing (e.g., Class 2 vs. Class 3) to mitigate the risk. |
| 6. Monitoring & Review | Regularly re-evaluate as conditions change or new hazards emerge. |
Conclusion
A structured risk assessment is not difficult. It is the most reliable way to ensure you choose the right high-visibility apparel and keep your workers safe and seen every day.
-
Choosing the right safety wear is essential for protecting your team in hazardous conditions. ↩
-
Familiarize yourself with safety standards to ensure your equipment meets necessary regulations. ↩
-
Proper cleaning methods are essential to maintain the effectiveness of hi-vis clothing. ↩
-
Explore tips to enhance the durability of safety apparel for long-term use. ↩
-
Learn how to check reflective tape to ensure maximum visibility and safety. ↩
-
A maintenance schedule is vital for ensuring the longevity and effectiveness of safety gear. ↩
-
Understanding OSHA requirements helps ensure compliance and worker safety. ↩
-
Understanding workplace hazards is crucial for selecting appropriate safety measures. ↩
-
Learn how to effectively assess risks to choose the right safety gear for your team. ↩
-
Explore best practices to ensure your team is safe and visible in any work environment. ↩
-
Explore strategies to enhance personal safety and reduce risks on job sites. ↩
-
Explore the ISO 20471 standard to ensure compliance and safety in your apparel choices. ↩ ↩
-
Learn why using the right safety gear is vital for protecting workers in hazardous environments. ↩
-
Daily checks are crucial for maintaining the safety and effectiveness of protective gear. ↩
-
Identifying visibility hazards is key to ensuring worker safety in various environments. ↩